
For the past few months, I've been eager to set up my own home server, specifically to create a self-hosted cloud storage solution using Nextcloud. This would enable me to store and share files securely and privately, eliminating the need to rely on Google One, costing 1.99$ per month, for about 100GB, and also providing a more flexible and customizable solution.
This journey started in November 2024, when I borrowed a Raspberry Pi 4 to experiment with.
Trying Out the Raspberry Pi 4
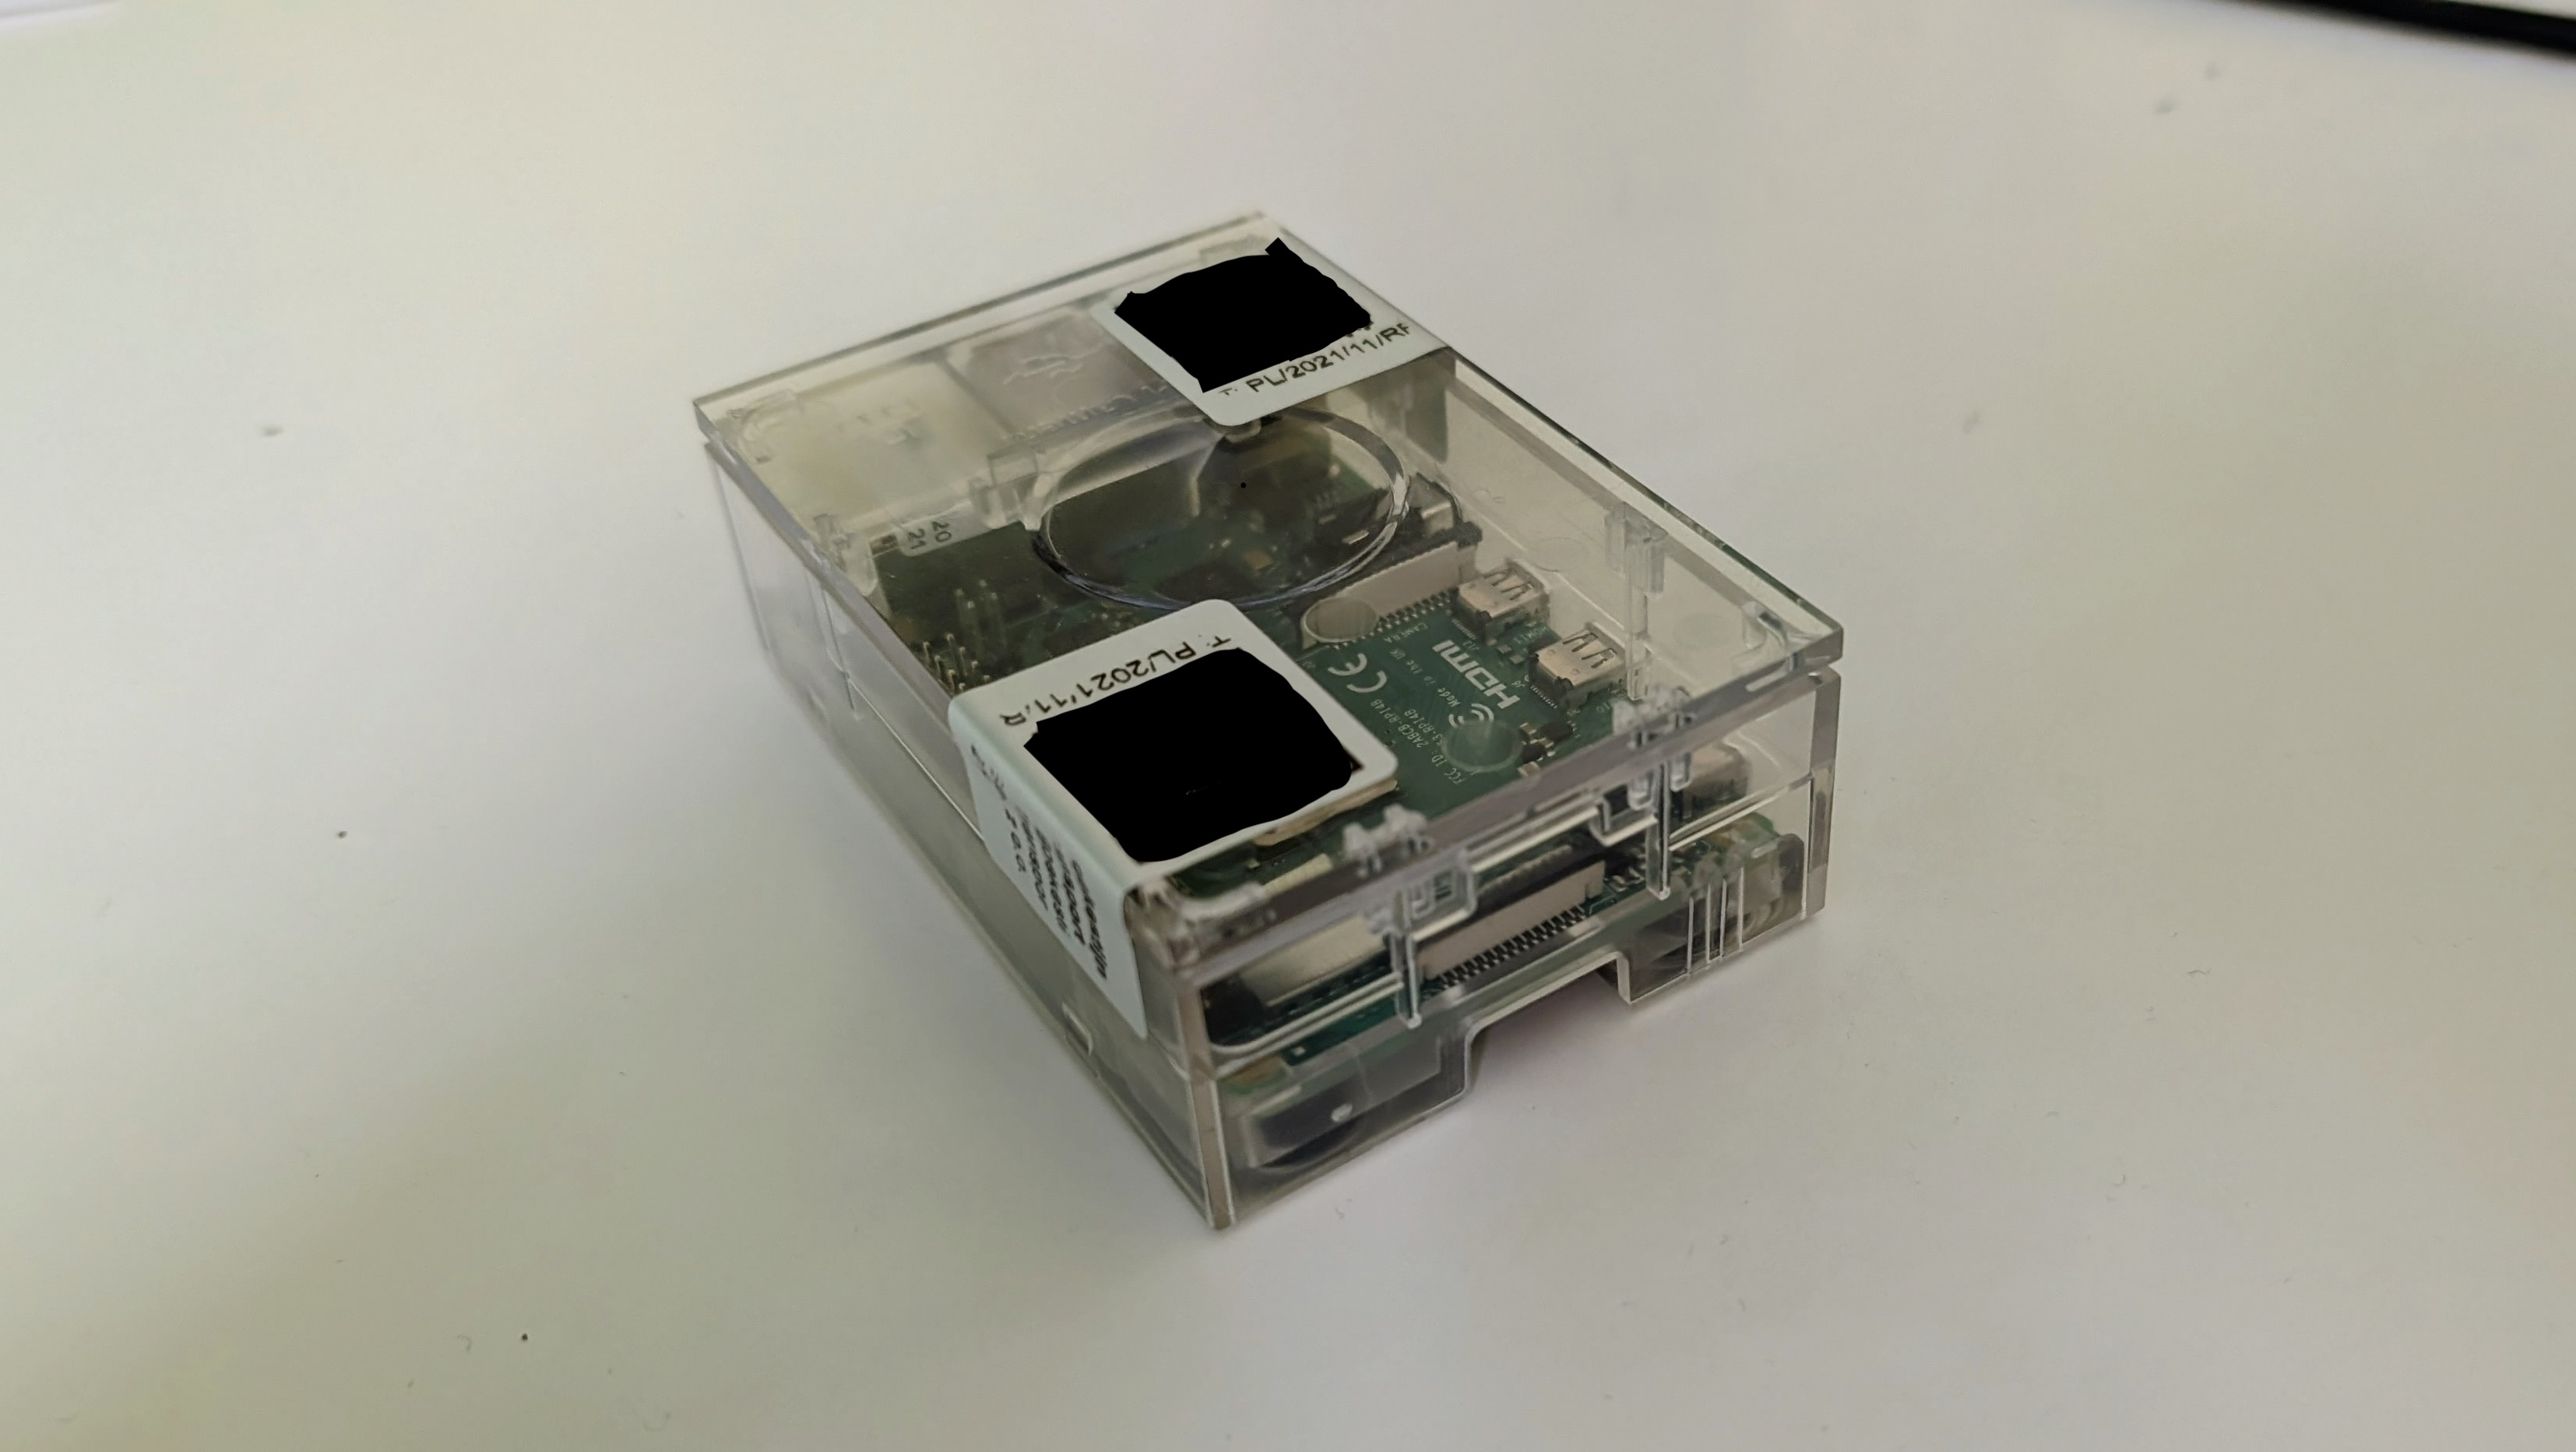
The Raspberry Pi 4 I got was the Model B (4GB RAM), released in 2018. It came with a 16GB MicroSD card, which was plenty for testing.
Setting Up the Raspberry Pi 4
I installed Raspberry Pi OS Lite using the Raspberry Pi Imager, set up SSH, networking, timezone, and other essentials. After inserting the SD card and powering it on, I installed Nextcloud via Docker following the official documentation.
To expose Nextcloud securely, I set up Cloudflared as a reverse proxy, and yes, I know, I know, it may not be the best solution, but I already have experience with it, and it works well for my needs.
After trying out Nextcloud for a while, I realized it was worth waaay more than the Google One subscription, which is a monthly subscription.
Now, I went and got an larger MicroSD card, this time, it was a 512GB one, more exact, the MicroSD Samsung EVO Plus 512 GB. I went for the 512GB version, due to me wanting to store all of my files on it, including photos, documents, and other files. But still, I needed an better Raspberry Pi.
Getting the Raspberry Pi 5
Just as I was looking for a new Raspberry Pi, Hack Club have announced an new YSWS program, where you build projects, get Doubloons (the currency of the event), and then buy items from the store. The event was called High Seas.
This was also the time when I joined Hack Club fully, as an verified member.
And finally, at the end of the holiday break, I've managed to reach my goal, on getting enough doubloons to buy the Raspberry Pi 5!
However, right the week I've gotten myself the right amount of doubloons, the pi went out of stock. 🫠
And since I wasn't patient enough, I've searched for alternative options. That's where I found out about Digikey, a company that sells electronic components and supplies. And also, High Seas offered Digikey Credits.
Ordering Process
I used 6× $20 DigiKey credits ($120 total) to order:
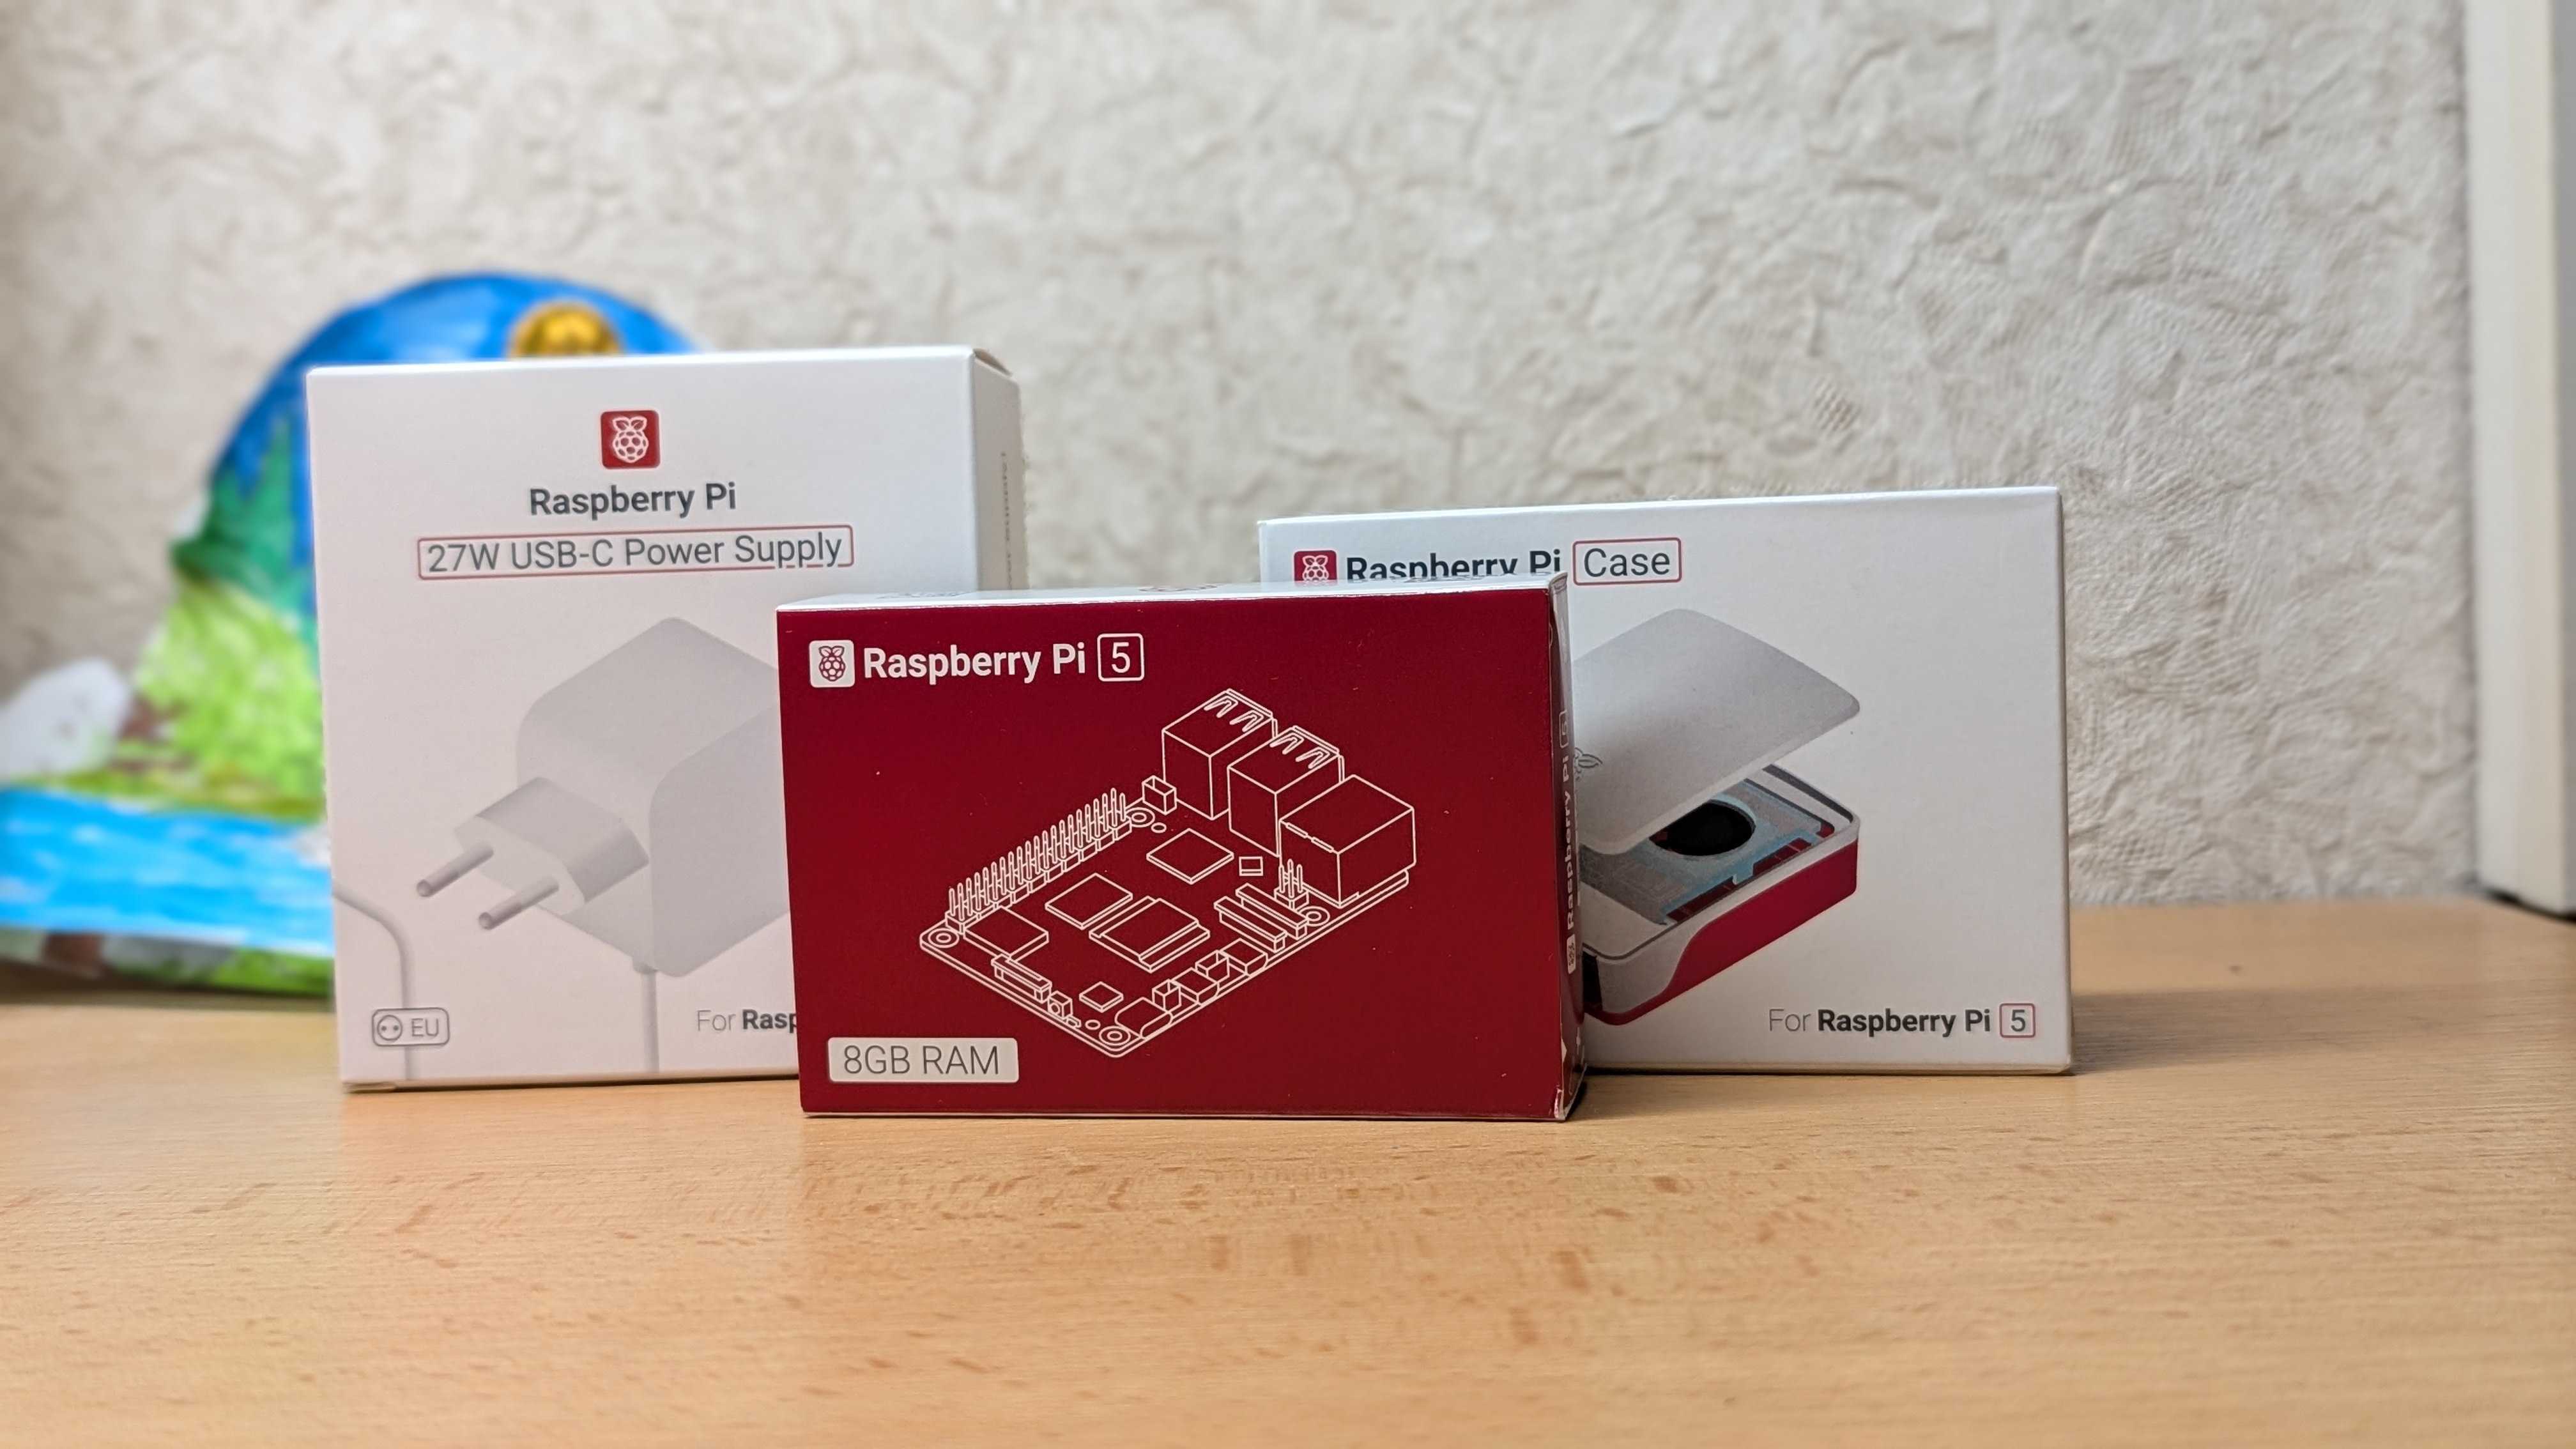
- Raspberry Pi 5 (8GB RAM)
- Raspberry Pi 5 Case (Red/White)
- Raspberry Pi 27W Power Supply (White)

However, shipping directly to me was too expensive ($240 total). Instead, I shipped it to a colleague in Germany (free shipping, $121 total including VAT).
Getting It Delivered
Ordering from DigiKey was a long and painful process, so here is a quick summary of the experience:
- Placed the first order.
- Received an email requesting additional details.
- Responded to the email.
- Order canceled without any follow-up.
- Placed the order again, this time to a new address.
- Order directly canceled.
- Spent hours with the Digikey Support Team.
- Finally informed of the issue.
- Reordered.
- Order automatically canceled.
- Contacted Support, informed that their system was broken for me.
- Support manually created the order for me.
- Received another email requesting additional details.
- Sent the details.
- Asked Support if they received the email, they said no.
- Provided a screenshot of the email.
- Order finally delivered.
- UPS couldn't find my address.
- Order arrived at the local pickup point.
- Received the delivery.
Now finally, after one month, the order has finally arrived to me.
Now, it was time to assemble it!
Setting Up the Raspberry Pi 5
Assembly
It should take long, right?... right?
Well no.
First, I've opened all the boxes, then I covered the Raspberry Pi with the case, and finally plugged in the new power supply. This was the quick part.

I migrated the 512GB MicroSD card from the old Pi to the new one, and it didn't want to boot up...
After some research, I found out that I can:
- Put the SD card back into the old Pi.
- Updated everything, packages, and dependencies.
- Reinserted it into the new Pi.
That actually worked!
I connected the Pi via Ethernet, then used Angry IP Scanner to find its new IP address. After SSHing in, I updated all configurations containing the old IP address.
Installed Technologies
Once the Pi was up and running, I already had the following apps installed, from the previous Pi:
I also have GoToSocial installed, but it wasn't and still isn't really working, and still to this day, I'm trying to somehow host a fediverse instance.
Other then that, everything was pretty neat, and working just fine.
Until, one day, I randomly started searching for a new Vercel alternative.
Coolify
I've already knew a few details about Coolify, and how it's the best self-hosted alternative to Vercel, offering everything Vercel has to offer, and even more, for example, being able to host both the backend (databases, etc.) and the frontend (webapps, webhooks, etc.). Which is something I'll definitely appreciate when building full stack applications, at a larger scale. Not only, Coolify offered an amazing user interface, great documentation, a very easy setup, and security.
Well, all of this information was enough for me to finally try it out.
Installation was straightforward, as mentioned, — just one command:
curl -sSL https://coolify.io/install.sh | sudo bashAfter that all I had to do is configure DNS, and other stuff.
And in a few minutes, I had everything up and running!
Right after the web interface was up, I first tried hosting this website, at first, I had the issue that the auto-generated domain was not working, but when I added a custom domain (https://testing.gxbs.dev), everything worked perfectly.
I also added support for auto-generated subdomains, by creating a wildcard DNS record for *.gxbs.dev. This made it work without any issues.
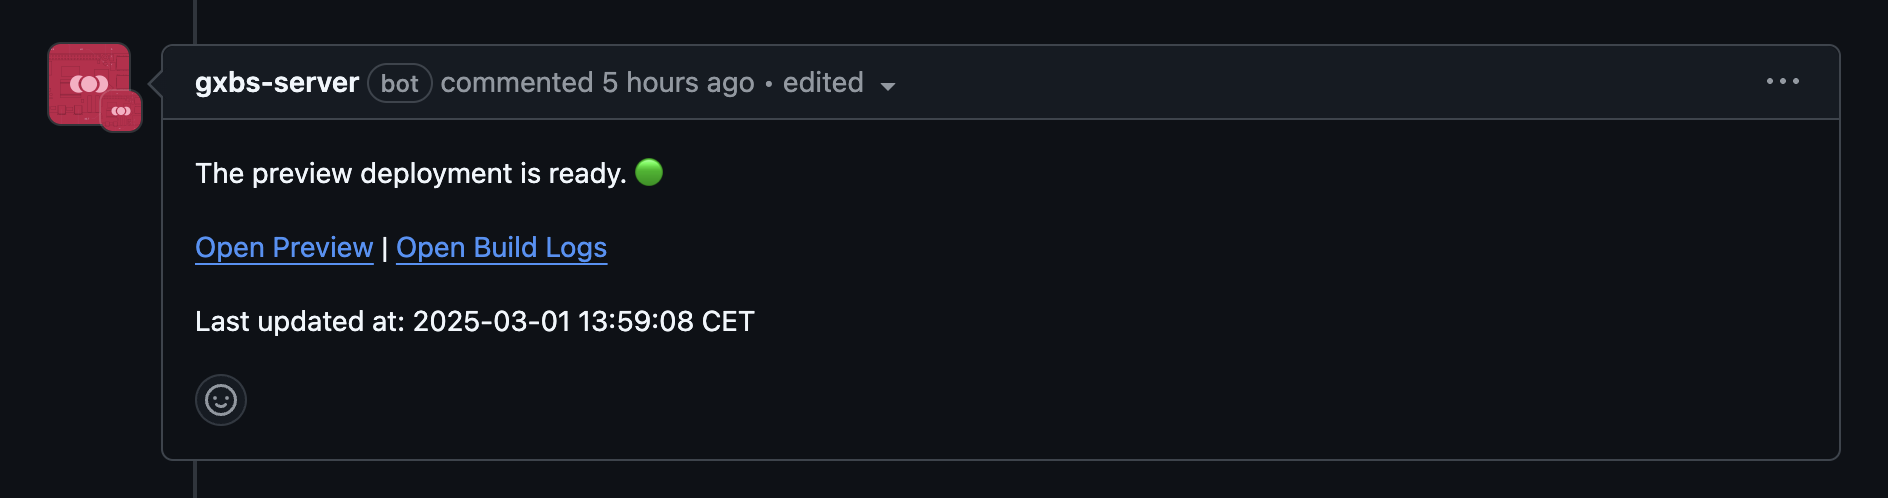
Since I wanted a full Vercel replacement, I also wanted it to comment under any pull request about a preview deployment. It turns out it's pretty easy to do! I just created a GitHub App using the link Coolify gave me, and just like that, everything worked! No other configuration was needed.
I used this article for setting up everything, it helped me a lot, really good article.
Using the Server
I quickly have fallen in love with this mini server (oh, and it was even Valentine's Day, what a coincidence lol)
I gave this server a name, gxbs server, since it's domain is server.gxbs.dev, and, well, the server is located in my home, under a monitor, right above the dock station. Pretty cool, right?
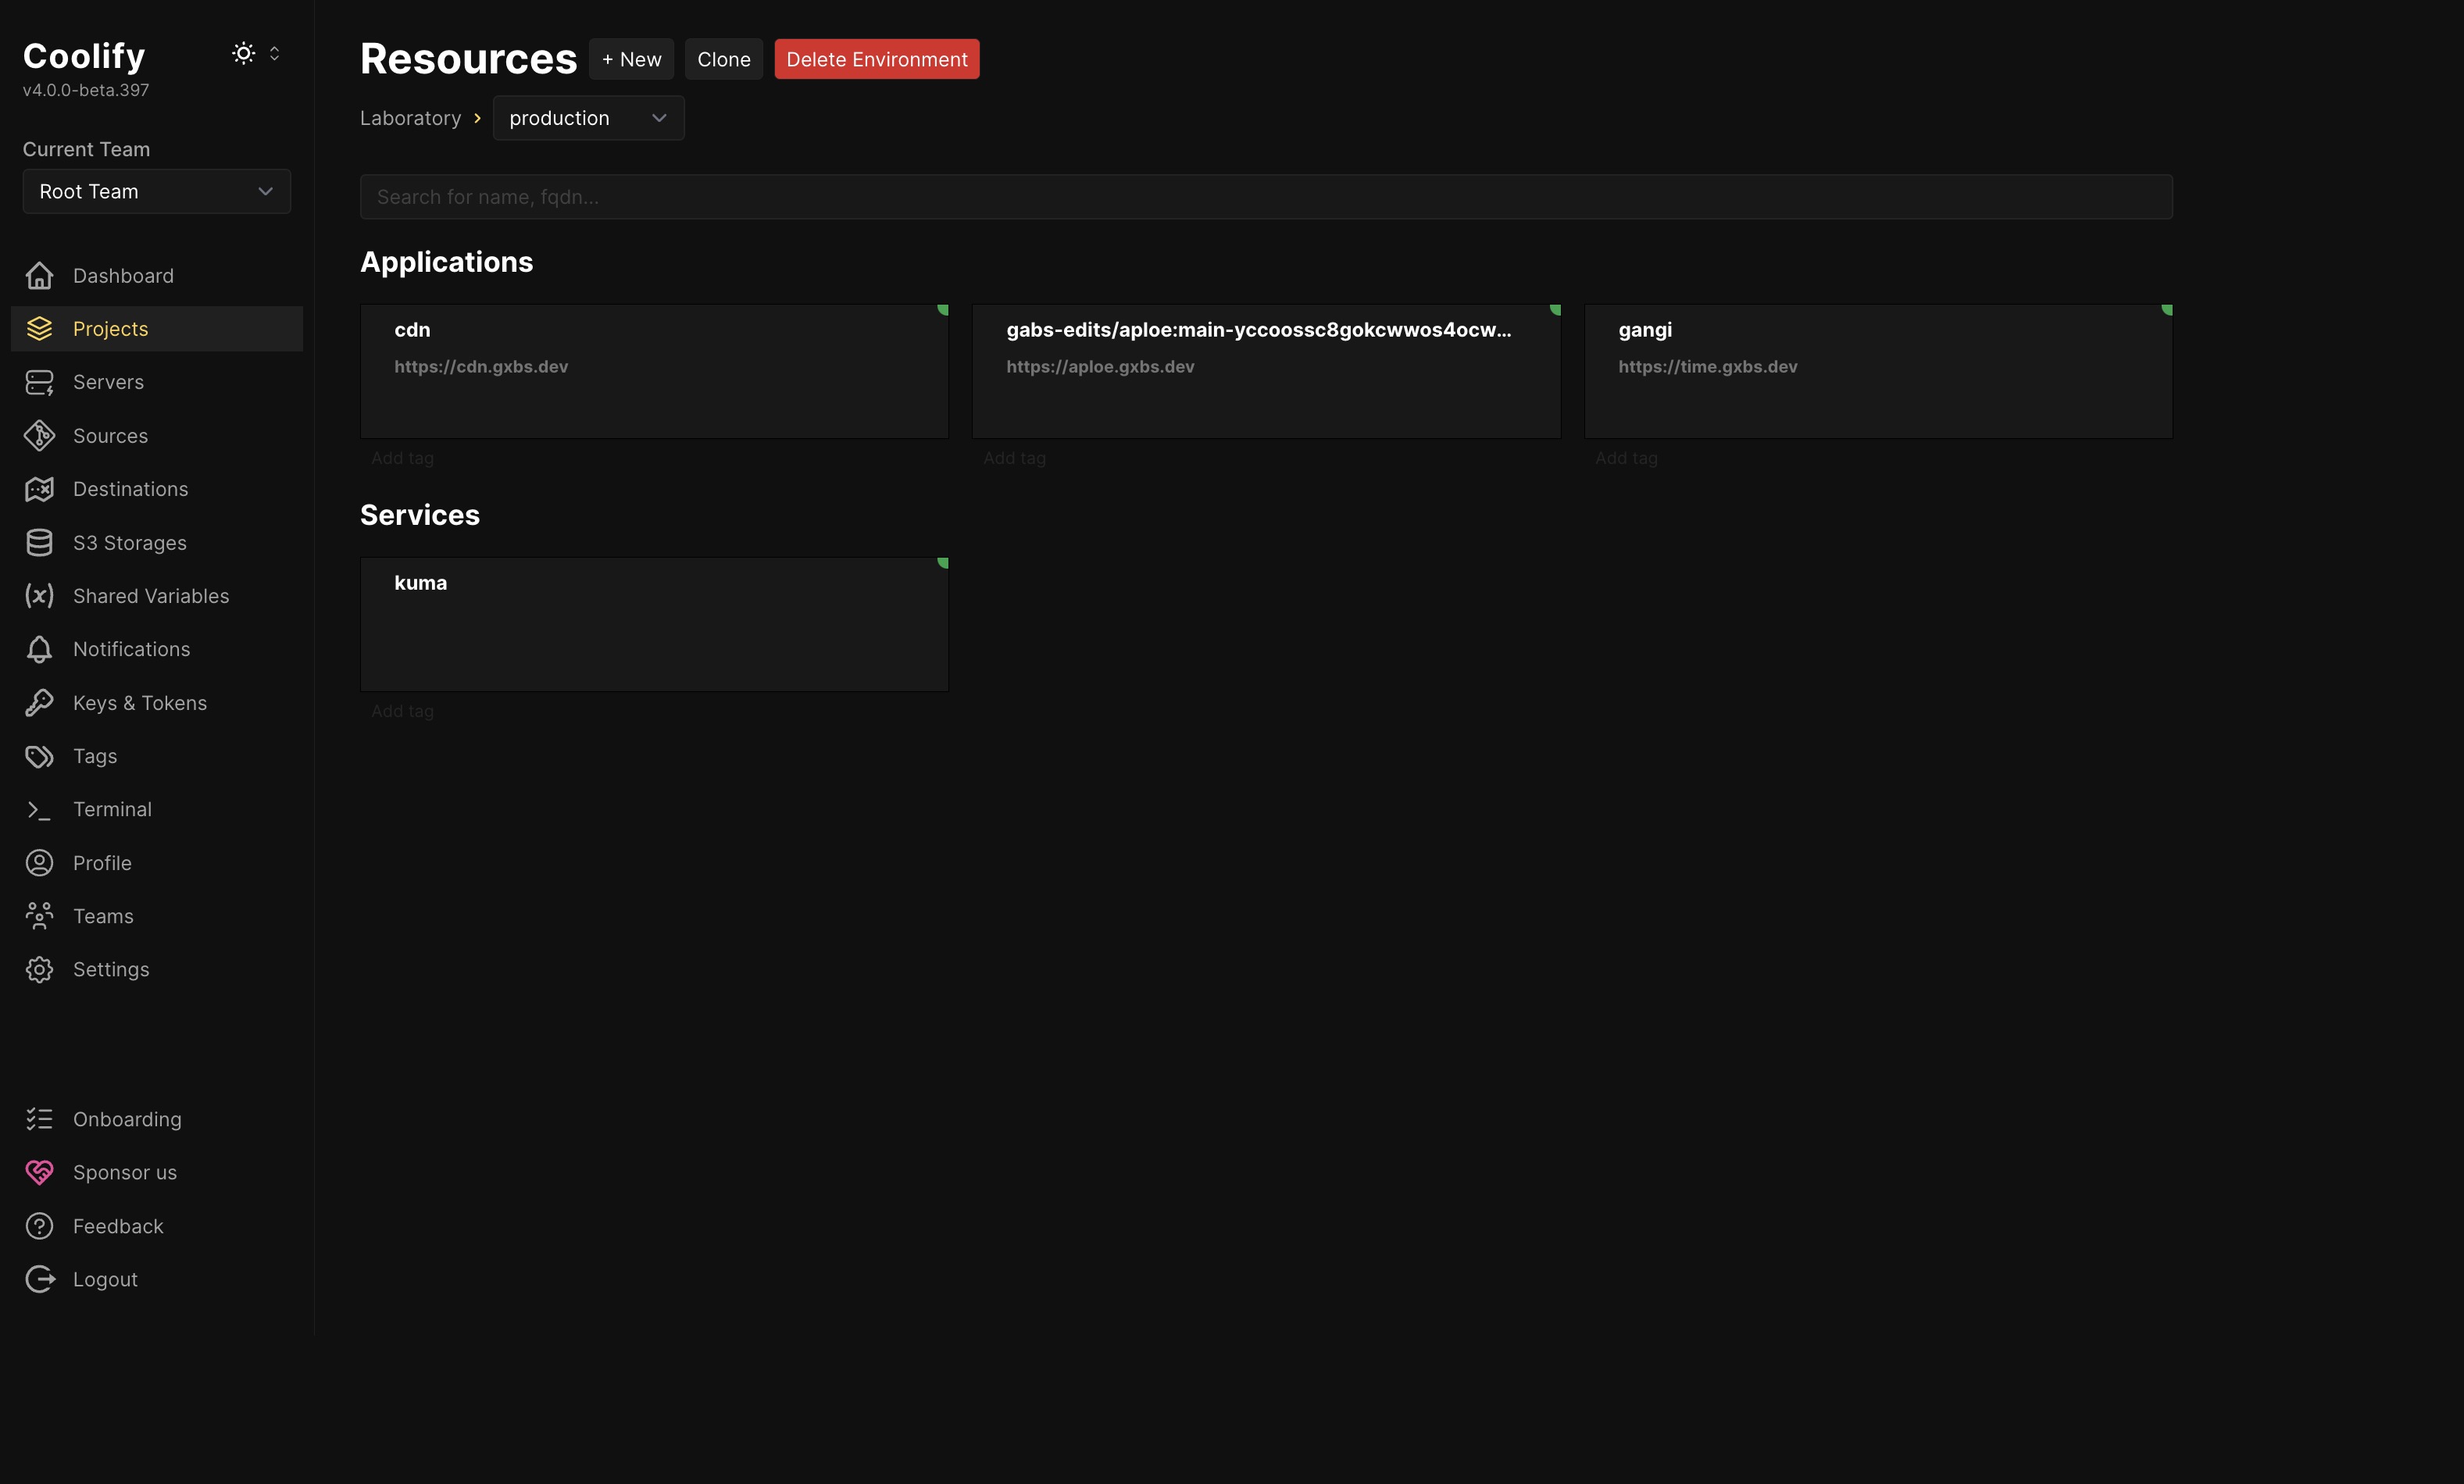
From now on, I'll host most of my projects on it, and other services, for example the Status Page. And most likely in the future, this website, from which you are reading this.
I've also created a special badge for all of the projects that are powered by the gxbs server! You can see it on the right side of this page.
Not only I made an icon for it too, since I wanted the GitHub App to look pretty, it turned out really good!
![]()
PS: See that little graphic at the center of the icon? I will talk about it in depth in the next post, the Snug Nook already knows about it!
And this is the GitHub App of the server, commenting on a pull request about the preview deployment status:
Oh, and one more thing, it even has it's own page on this website! Check it out
Conclusion
Self-Hosting is amazing, something which I will always like, and knowing that the services you use daily, and the services that you are offering are also in your hands, is something that I will always appreciate.
The Raspberry Pi 5 is a powerful device, that I really like, and getting such a good mini server, for just a total of $175 is amazing. And even better, that out of this 175$, 70% was covered by Hack Club! Better still, I can now host my own little Vercel, have full control over my data, files, and so much more opportunities to host different services!
I will still add more stuff on my Raspberry Pi, like Forgejo, and maybe even an email server, who knows!
At the end, I want to thanks all parties involved in making this possible, with special thanks to Hack Club, who saved me over $200 (since buying it locally would've costed me over this amount).
Oh, and one more thing, I've build this mini server together with Snug Nook, an amazing community made by Daudix, so join Snug Nook today and watch me suffer in the future, together! (oh, and also you can meet cool people there!)
Thank you for reading this post, and I hope you enjoyed it! See you!